
Adorable, right?
I had pinned this hooded vest tutorial and pattern quite a while ago,
but I felt like Linus would be too hot in a lined vest and I could never manage
to get the pattern to print (This might be because of my own lack of
intelligence and patience, especially patience.) So I decided to make my own pattern!
I've just started experimenting with drawing my own patterns, and I just want to say it has been a lot of fun!
(Sidenote: Ok now don't stop reading because you're scared to make your own pattern. I mean it! It's really easy! Check out this tutorial from Dana at made.)
Here's what you'll need:
Shirt to trace for pattern
Freezer paper
1 fat quarter for binding
1 yard* of double sided quilted fabric (for a 2T/3T)
One coil separating zipper
(Make sure you have a heavy needle on hand too.)
*I used a directional print you might be able to get by with 3/4 yd if it wasn't directional.)
I wanted my vest to be about a 2T/3T so I traced a 4T shirt I already had on to freezer paper to make my pattern. (I figure a 3T jacket is about the size of a 4T shirt.)

I traced two pattern pieces: the front and the back. I only traced half of the shirt. (Since it's a jacket I'll need the front in two pieces and the back can be cut out on the fold.) Once I traced it I cleaned up my lines and added 5/8" to everywhere I need a seam allowance. For this vest I added 5/8" to all outside edges except the armhole and hem since these will be bound.
 |
| Adding seam allowance |
 |
| Finished Pattern Pieces |
Ok now I got excited and forgot to take pictures for a
little while. But you need to cut the
back out on the fold and two front pieces.
Now for sewing:
Sew together the back and front pieces at the shoulder using a French seam. Then sew together the sides still using French
seams. (At this point I had Linus try on
the vest for fit.)

First step of the French seam (wrong sides together 1/4" seam)
 |
| Trim seam with pinking shears |
 |
| Fold over onself and press |

 |
| Then sew seam at 3/8" hiding the raw edge. |
 |
| Voila! |
Next I bound the armholes. I cut my fat quarter into single fold 1 ¼” wide
binding. Pressed one side in ¼” and then
measured how much I needed for the armhole (adding ½” for seam allowance.” After I had cut my binding for each armhole, I put it together with a ¼” seam so it was a
continuous circle the size of the armhole.
I then pinned it to the armhole right sides together and stitched them
with a ¼” seam.

Next I trimmed the seam with my pinking shears and pressed
my binding over the raw edge and topstitched on the outside of the binding as
close to the seam as I could get.
 |
| This is actually the binding on the hem but you get the idea. I did them both the same way. |


There are two ways to do the next step: the right way
and the way I did it. (I did switch to a heavier needle here just because of the bulk of the zipper and remaining seams.)
The right way: Make your zipper the length of you
jacket minus 5/8” for the seam allowance around the neck. Then bind the hem and then sew the zipper in.
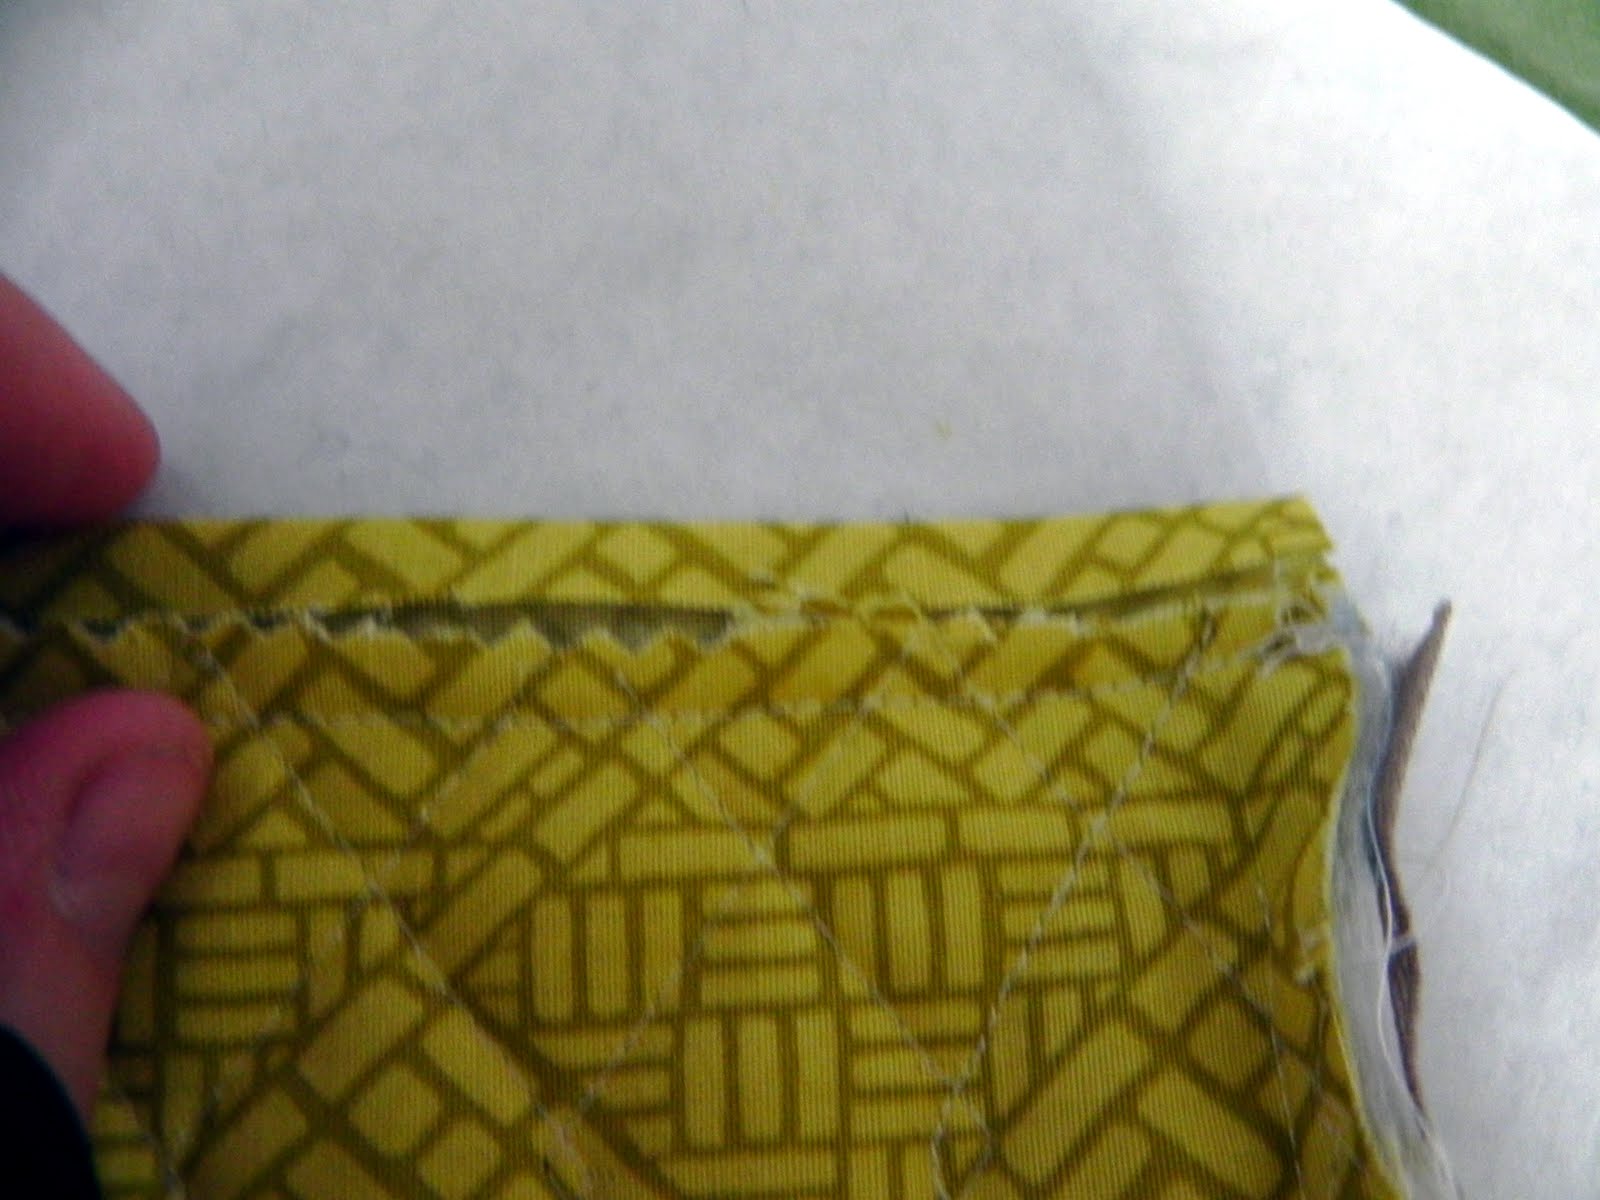
The way I did it:
I knew my chances of everything lining up right on the first try were
slim so I put the zipper in first making sure it started 5/8” from the neck
line. I zipped it up, admired it and
then ripped out the bottom inch of it (trimmed on side of the vest which was
about an 1/8” too long.) See the picture above. Bound the hem and then finished the zipper again. I hate using my seam ripper but this seemed to work well for me and didn't take that much extra time.
 | ||
| Zipper reattached.
To finish the zipper, I trimmed the fabric in the seam
allowance with my pinking shears, folded the zipper tape over it and
topstitched along the zipper hiding the raw edge between the zipper tape and
the jacket.

|

 |
| Adam snapped this picture of Linus "helping." |
Once I cut out the pattern I cut two hood pieces from the quilted
fabric. I sewed them together with a French
seam.

Then bound the front edge like the armholes and hem. Then I attached the hood to the jacket at the
neckline with a French seam.
When I finished this even Adam ooed and awwed over how great it looked! I can't believe how rewarding it was to draw my own pattern. I also can't believe how hard it is to get a 19 month old boy to stand still.


I'm linking up to Craft-O-Maniac, Flamingo Toes and I Heart Nap Time.
Happy Sewing!
Tamara
No comments:
Post a Comment